How to Add Custom Endpoints to the “My Account” Page in WooCommerce

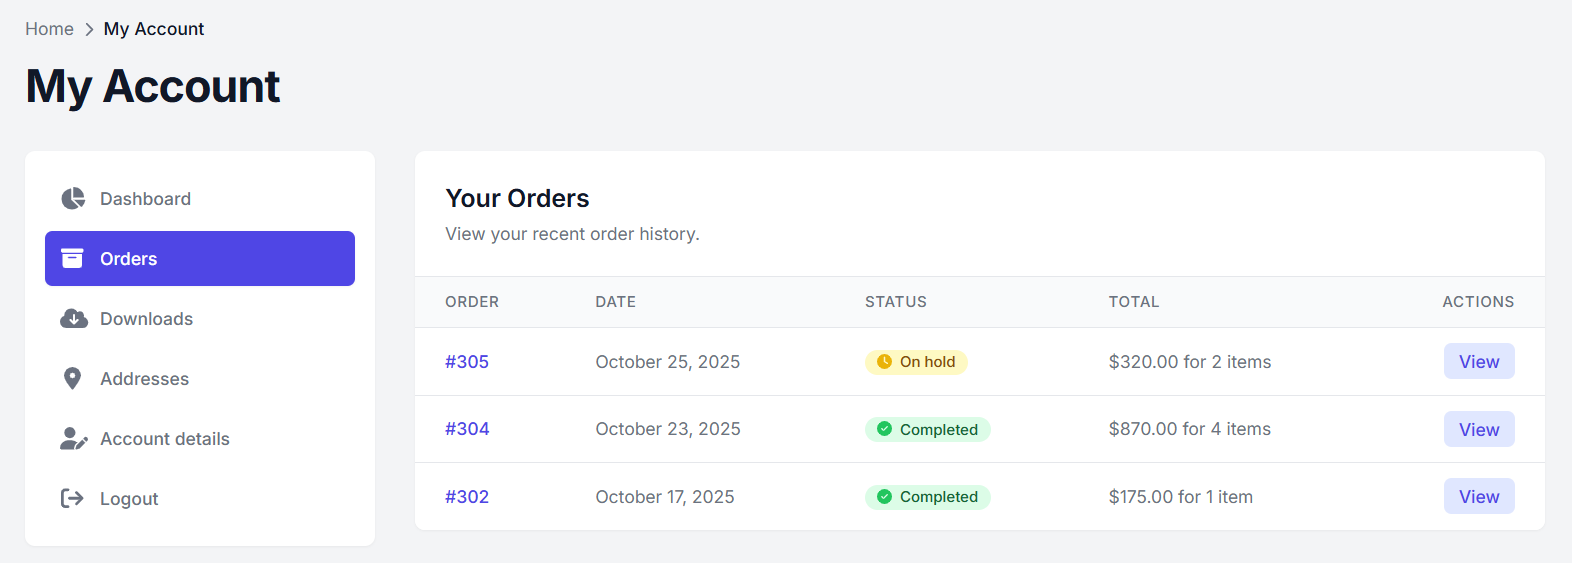
On the WooCommerce store “My Account” page, you can keep the customer details, track their activity, and their order history. But by default, it will provide a limited built-in section like: Dashboard, Orders, Downloads, and Account Details.
If you are a Woocommerce store owner and want to boost the customer’s experience by using some custom element, such as Wishlist, Loyalty Points, Support Tickets, or License Keys?
This is how custom endpoints come in.
The custom endpoints allow the customers’ dashboards to be customized by adding new tabs and adding dynamic content, without the use of big and complex plugins.
This guide will show you how we can add our own custom endpoints to the WooCommerce My Account page with examples, code snippets, and a couple of custom tips to make your store shine.
Why do we use Custom endpoints in WooCommerce My Account?
Every customer wants a flexible and customized shopping experience in today’s world, but WooCommerce’s “My Account” page provides limited features by default, so we need to add a custom endpoint. These custom endpoints allow you to add additional information and tabs on the “My Account” page without redirecting the user to another page.
Use a custom endpoint for:
- Better user experience: It provides a better user experience because by adding the endpoint, instead of redirecting the customer to another page, you can keep them on the WooCommerce “My Account” page.
- Organized and intuitive: Streamline the “My Account” page by adding the customzied feature, with its own URL and menu items.
- Flexible content: It displays any type of dynamic content, such as license details, downloads, or subscription information, based on customer needs.
- Maintainable and standardized: It supports the WordPress endpoints APIs, WooCommerce hooks, and templates, which help keep your configuration clean and safe during updates.
Customized My Account page by adding the Custom tabs & Endpoint
Enhance the WooCommerce “My Account” page by creating custom endpoints and tabs. Some processes are mentioned below that are used to add the custom endpoint:
1. Registered the Custom Endpoints:
The initial and most important step is to register your custom endpoint. You can add these endpoints to our theme’s “function.php” or in plugin code.
To create the first custom endpoint, we simply use `add_rewrite_endpoint()`. When we provide the first argument, we will need to provide an identifier, this identifier is referred to as a “Licence key”. Below are a few examples of the licence key.
Example:
add_action('init', function() {

    add_rewrite_endpoint('license-keys', EP_ROOT | EP_PAGES);

});
Below is a breakdown of what we can expect after adding this:
- add_rewrite_endpoint(): Instruct WordPress a valid ‘licence key’ endpoint.
- EP_ROOT | EP_PAGES: This shows that the endpoint is also available at the site root and any page, including the “My Account” page.
- License-key: A slug that is included in the URL ‘/My-account/license-key’ that enables the user to be redirected to the license key page view.
After the modification of the endpoint, you need to refresh the permalink. To save the changes, go to the Dashboard → Settings → Permalinks → Click “Save Changes.” When you make any change in permalinks, you must need to do this.
2. Add the Menu Tab
Once you register the endpoint, you need to display this on the “My Account” page menu. You can add woocommerce_account_menu_items manually to the filter. It can provide a filter that contains the key of all tabs along with their labels.
This tab is added at the end of the array or menu, but if you want to add this tab where you want, then you can use the PHP function.
Example:
add_filter('woocommerce_account_menu_items', function($items) {

$logout = $items['customer-logout'];

unset($items['customer-logout']);

$items['license-keys'] = __('License keys', 'txtdomain');

$items['customer-logout'] = $logout;

return $items;

})
In this example, I want to add the License key option before the logout option in the menu tab. So first we remove the logout tab temporary and then add the license key. After that, you can re-add the logout option.
The license key was added successfully with this endpoint /my-account/license-keys/, and now your new menu tab is displayed after adding the required details.
3. Render the Tab’s Content
Once all changes are done, you want to view the data in this tab. It will be empty until you define what content should display or load. WooCommerce provides a dynamic hook ‘woocommerce_account_{endpoint}_endpoint’ pattern that can display any HTML, templates, or dynamic content inside your new tab.
Example:
add_action('woocommerce_account_license-keys_endpoint', function() {

    $licenses = [];

    wc_get_template(

        'myaccount/license-keys.php',

        [

            'licenses' => $licenses

        ]

    );

});- This is your correct ‘woocommerce_account_{license-keys}_endpoint’ dynamic hook, which is run automatically and detects the endpoint inside the URL. You can also replace the endpoint, like ‘license-key’, with the custom endpoints.
- It can fetch the current data by using ‘get_current_user_id()’, this endpoint, and fetch the data like downloads, order summary, and license key, etc.
- It can load the custom templates by using the built-in WooCommerce function ‘wc_get_template()’
- You can create your own file inside the theme by using this endpoint: ‘your-theme/woocommerce/myaccount/license-keys.php’
- Inside this template, you’ll receive the $licenses array. You can display it as a table, grid, or card view, for example:
Example:
<?php if (!empty($licenses)) : ?>

    <ul class="license-list">

        <?php foreach ($licenses as $license) : ?>

            <li><?php echo esc_html($license); ?></li>

        <?php endforeach; ?>

    </ul>

<?php else : ?>

    <p>No license keys found for your account.</p>

<?php endif; ?>
It will provide a customized user experience on your WooCommerce ‘My Account’ page.
Customized My Account page by adding the Endpoints & Custom button
If you want to manage specific order data, such as license key, digital download, or product warranties, etc. You must add a custom action button inside each order list on the ‘My Order’ page. Here are the same things that were discussed above in the custom endpoint.
1. Registered the Custom Endpoints:
In this custom endpoint, you will use the same endpoint ‘license-key’ that is mention above, but now we will insert the Order ID parameter in the URL or permalink. For example, ‘my-account/licence-key/123/’
Example:
add_action('init', function() {

    add_rewrite_endpoint('license-keys', EP_ROOT | EP_PAGES);

});
2. Append the Custom Action Button to the Order List:
Using this ‘woocommerce_my_account_my_orders_actions’ endpoint to add a custom new button to complete the order. The second argument use for the order object, which is very useful. With this order object, you can verify that the order is complete and paid, and also ensure that the pending order does not display the licence key.
Moreover, the order object gives access to the Order ID, which helps to find the license keys that are used inside the specific order.
Example:
add_action('woocommerce_account_license-keys_endpoint', function() {

    $order_id = get_query_var('license-keys');

    $licenses = [];

    wc_get_template(

        'myaccount/license-keys.php',

        [

            'licenses' => $licenses,

            'order_id' => $order_id

        ]

    );

});
This is a basic example that simply checks to add a button that completes an order.
This dynamic endpoint, wc_get_endpoint_url(), generates the URL automatically, like /my-account/license-keys/123/. You can also rename the button like “View keys” or “Access Licence”.
3. Render the Specific Order Content:
When the user clicks on the “View Keys” button, the system redirects the user to ‘/my-account/license-keys/123/’ this page. It will capture the order ID automatically and render the data dynamically.
Example:
add_action('woocommerce_account_license-keys_endpoint', function() {

    $order_id = get_query_var('license-keys');

    $licenses = [];

    wc_get_template(

        'myaccount/license-keys.php',

        [

            'licenses' => $licenses,

            'order_id' => $order_id

        ]

    );

});
You can utilize the custom hook woocommerce_account__endpoint to display the content.
For user purposes, the custom hook will be woocommerce_account_license-keys_endpoint.
Within this function, we utilize get_query_var() to get the Order ID, and use this ID to find the license keys which is related to that order.
By using HTML, you can code your custom template file, ‘myaccount/license-keys.php’, and display it anywhere you want. With the Order ID, you can retrieve all the associated license keys from the order, place them in an array, and pass the data into the template to show the information clearly.
Conclusion:
In short, Custom endpoints allow you to customize WooCommerce’s default “My Account” page to a fully-functional dashboard, which is easy to use. You can improve the customer experience, keep content organized, and facilitate orders, all with WooCommerce’s built-in hooks and API, by adding new tabs such as License Keys, Wishlist, or Support Tickets.